Project description and brief.
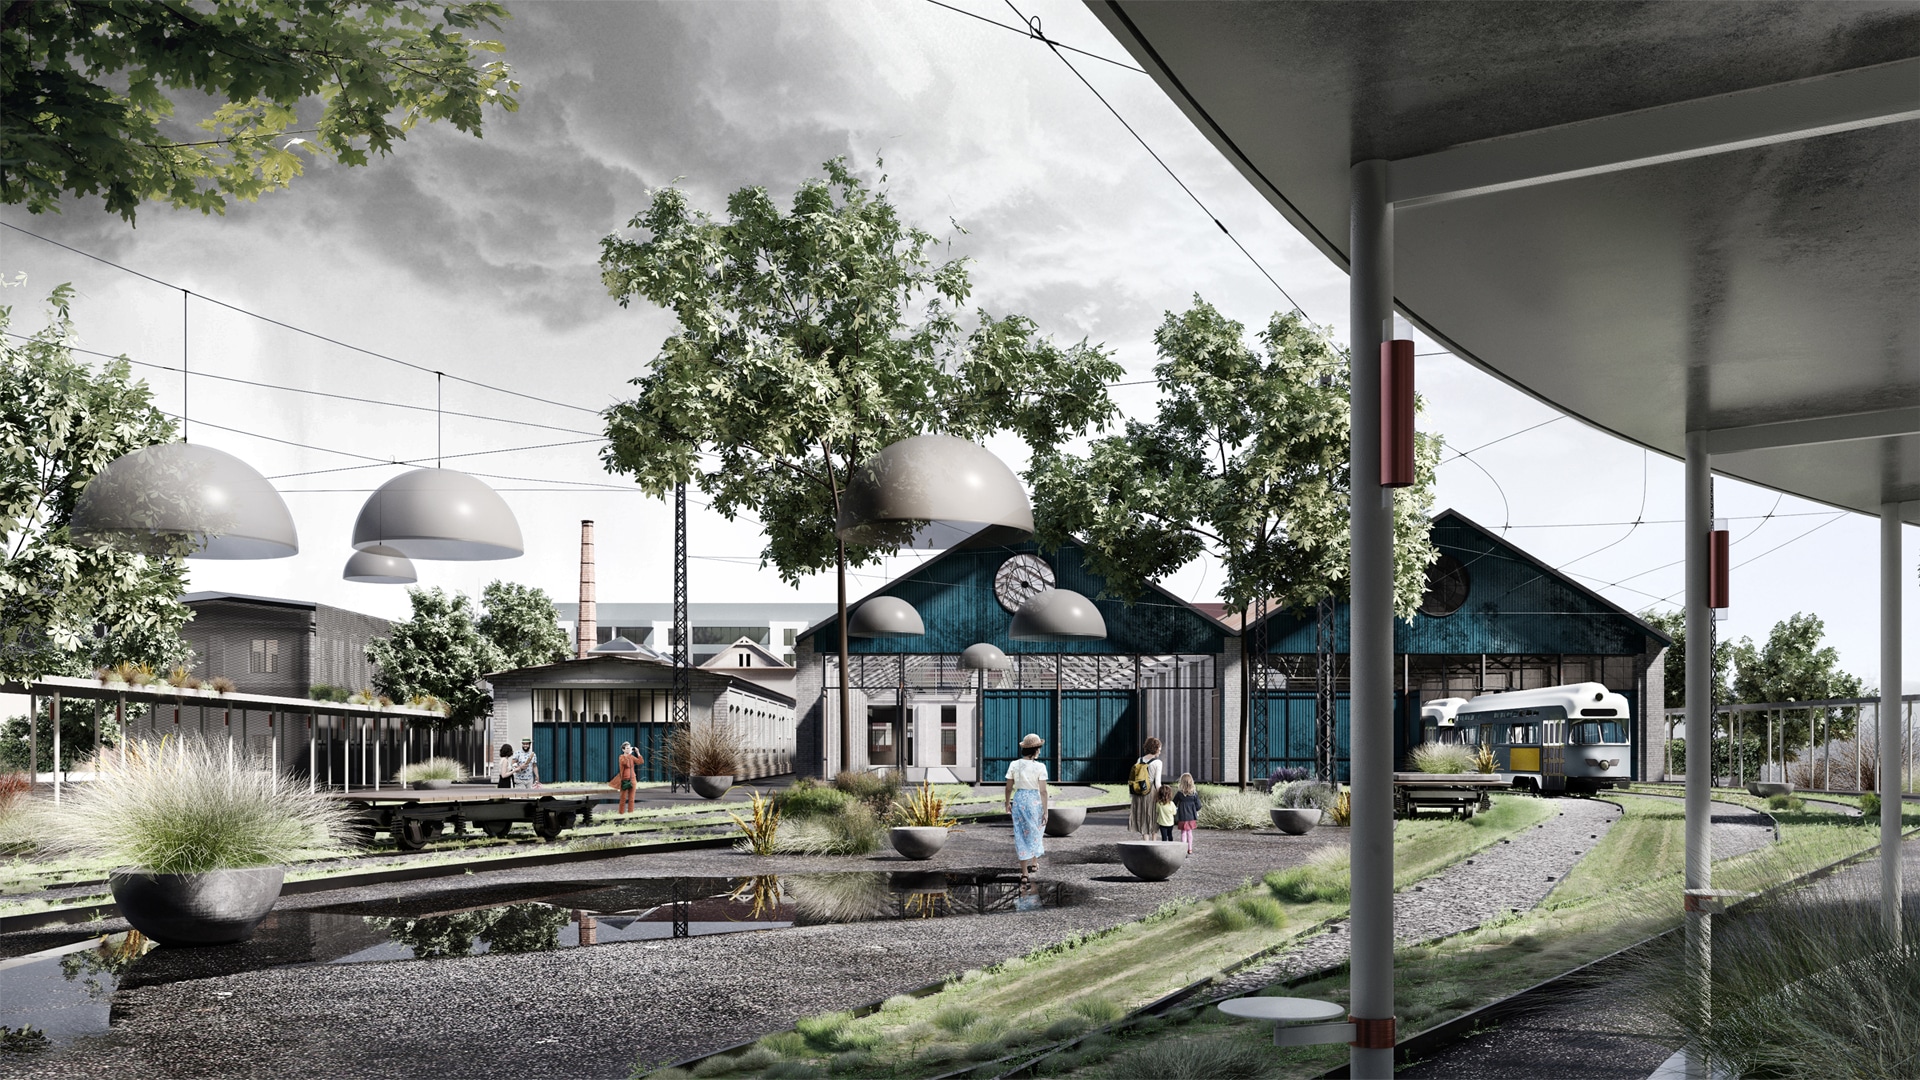
In February 2020 we got a call from a client (that was representing an architectural practice) looking for a 3d rendering studio that could visualize a contest proposal of their own. Their project was the rehabilitation of a tramway station located in the old, abandoned industrial neighborhood of Timișoara. The repurposing of this space is supposed to create an experimental cultural & technological center where several creative studios and workshops would take place.
The purpose of our project was the entry into an architectural competition, and so we only had 3 days to deliver the visualizations. Still, the result of our architectural contest visualization collaboration was more than what other participants were able to bring to the table. If you want to read more about this contest you can follow this link to OAR, but keep in mind that the description is only in Romanian.
If you are interested in how our collaboration with the client worked, what files we sent them, and how each stage took place, have a look towards the end of this post.
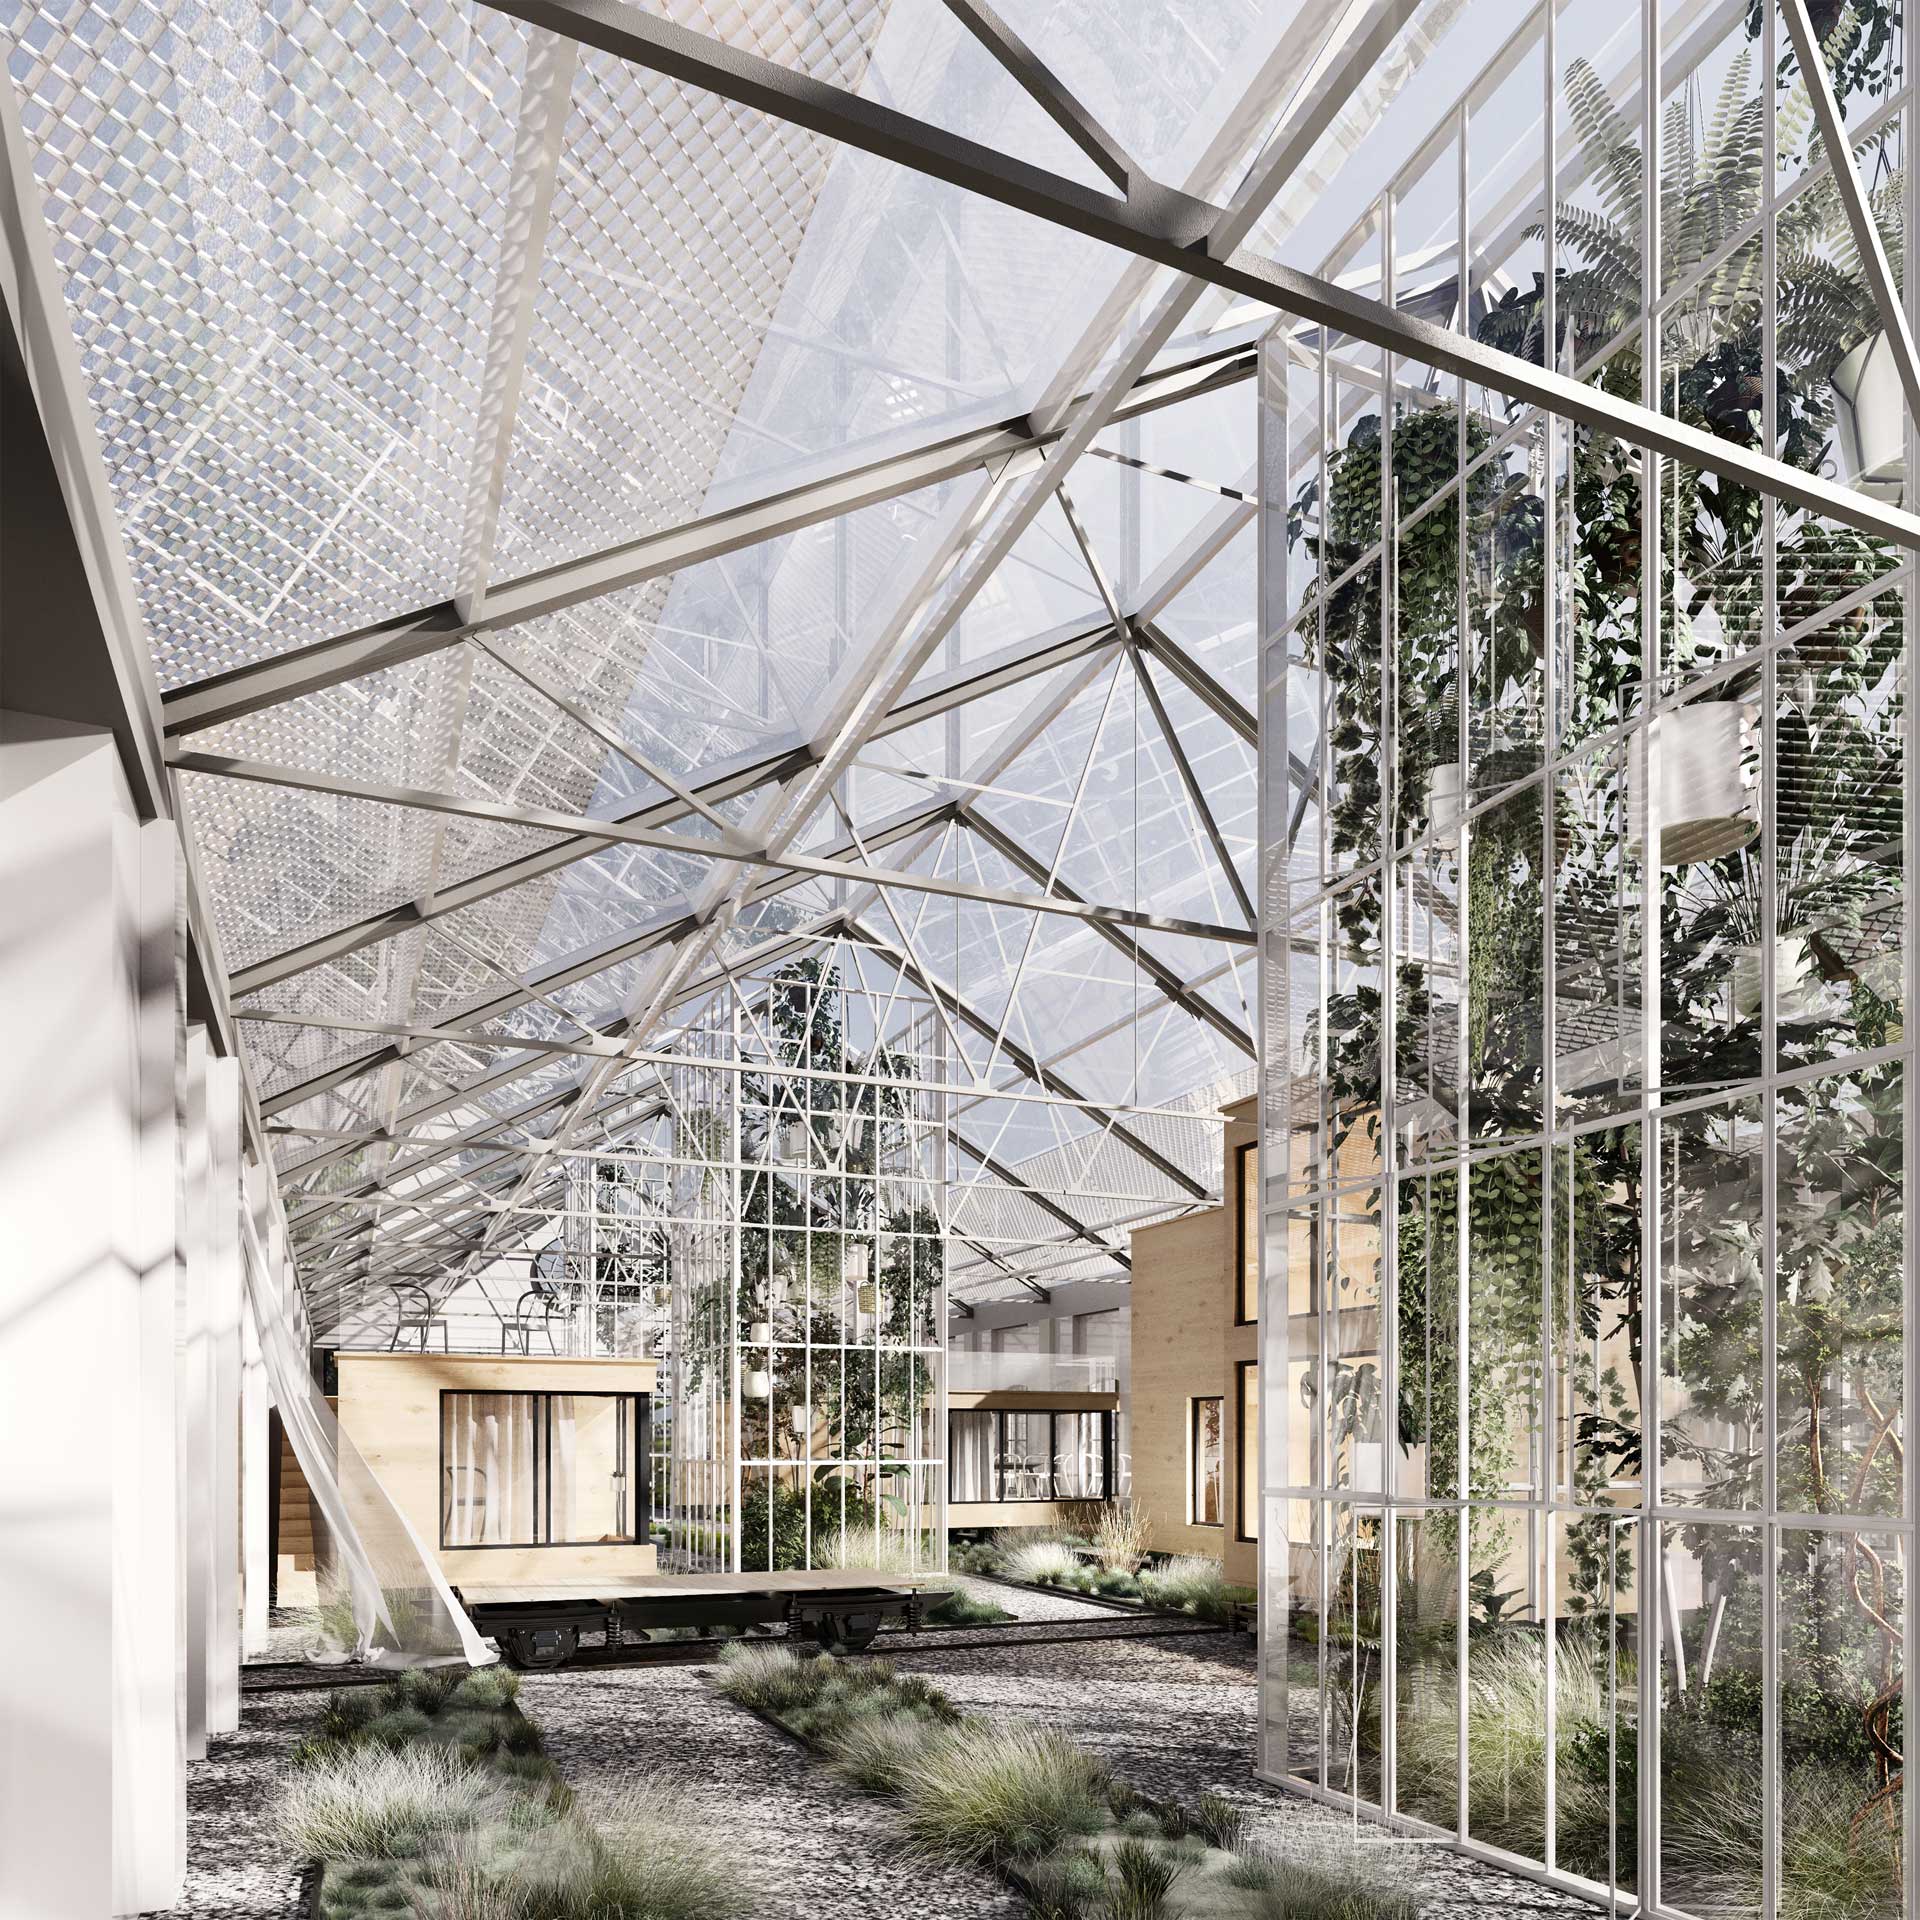
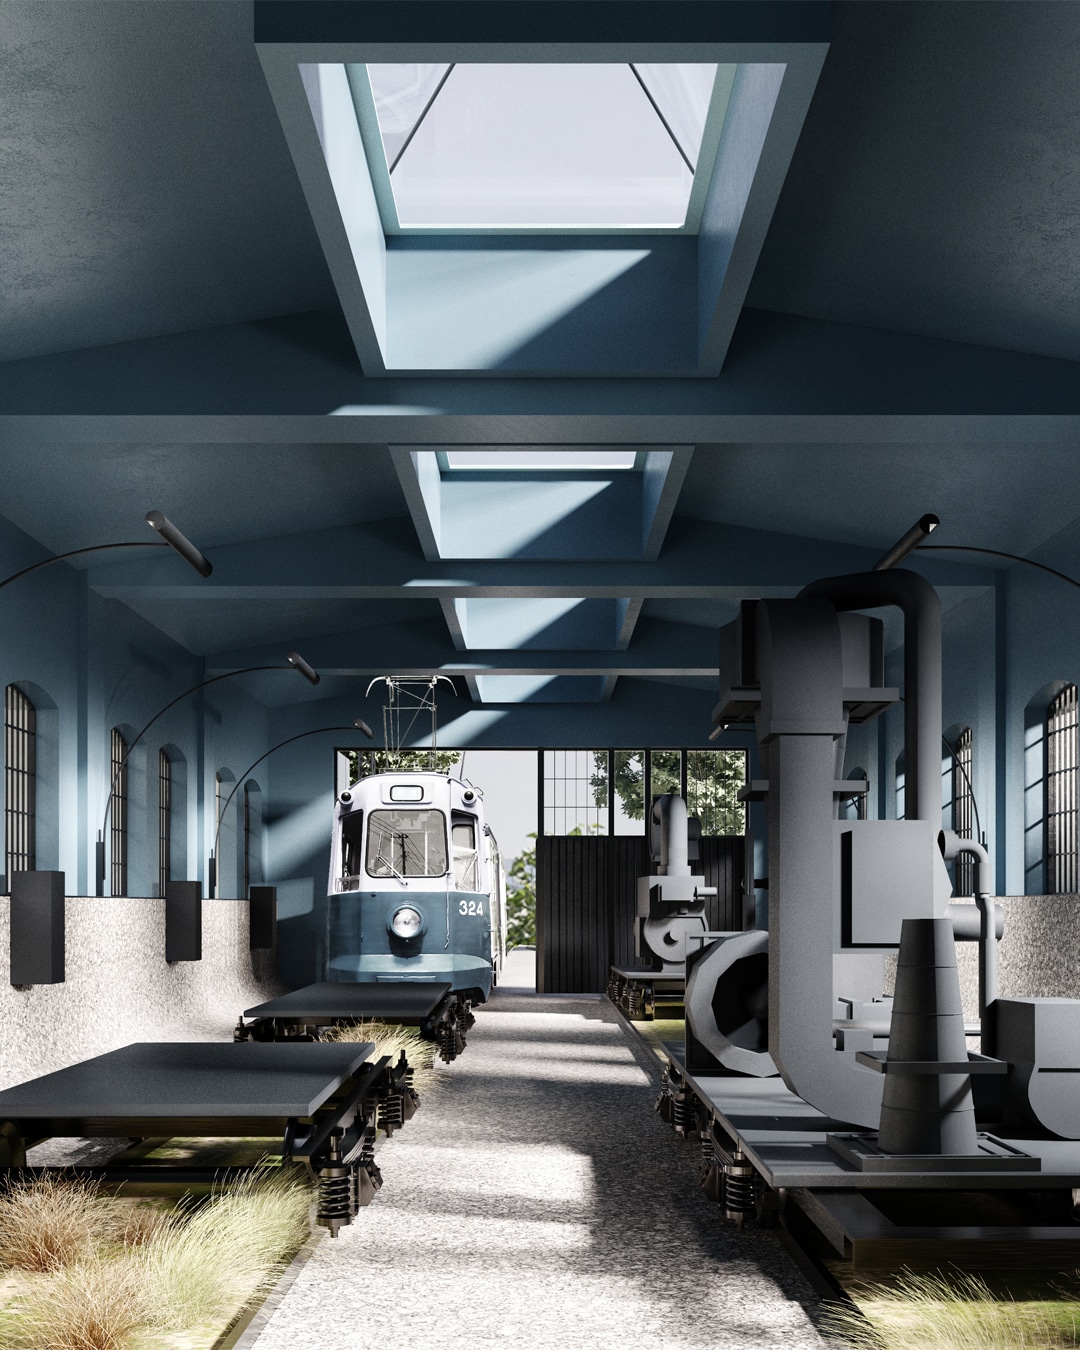
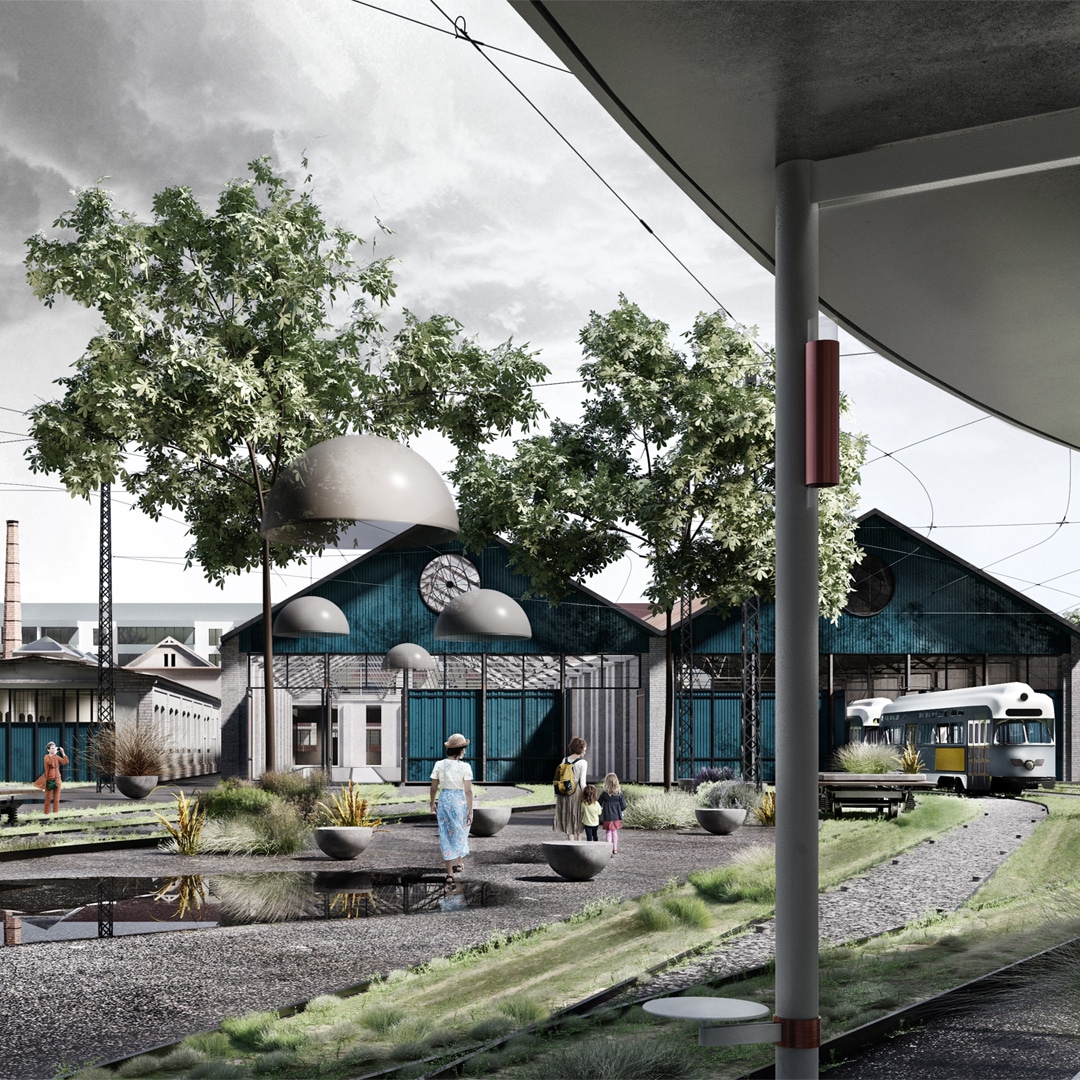
The process behind the architectural contest visualization.
We usually model the scenes in Rhinoceros & 3ds Max, and then we render them in Corona for 3ds Max. In this case the client already had the 3D models, so as a start we only had to help them choose a camera angle.
If your project is particularly different in that we don’t already have a scene, then we need to create it from scratch. Sending us a couple of pictures similar to what you’re imagining, a sketch, or some writing over an image would be of much help. Don’t forget to tell us exactly what side of your design you wish to reveal.
For more information, we’re more than happy to answer your questions here, or you can see our contact details on our main page.
1. Setting up the camera angles and proportions.
At this point, we’ve sent a couple of camera angle proposals for each scene, rendered in low resolution for a very fast result – and we recommended the one we believed is the best. The client agreed with us on this matter quickly, so no time was wasted at this stage.
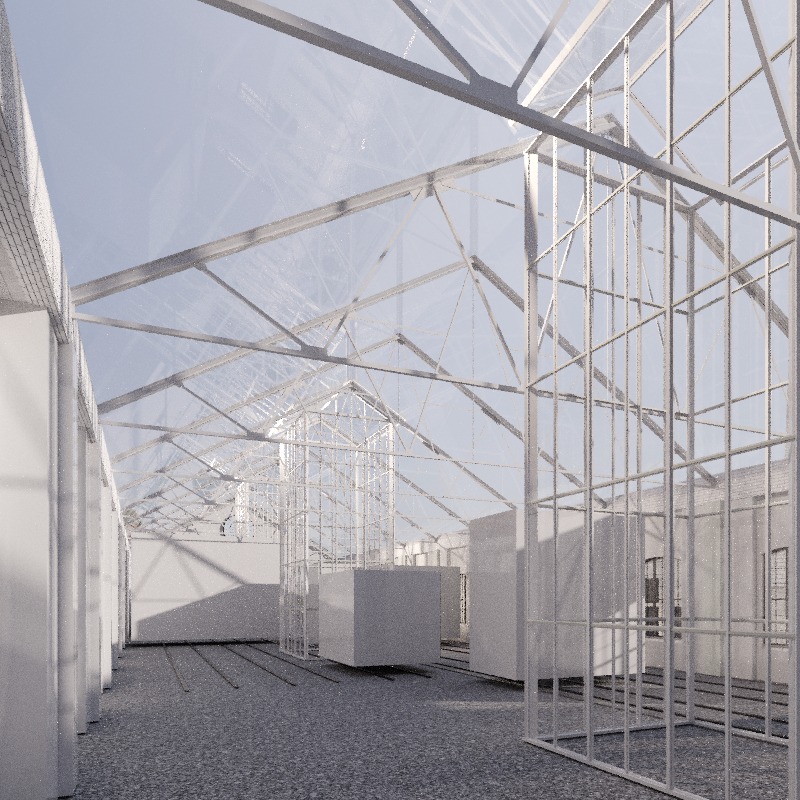
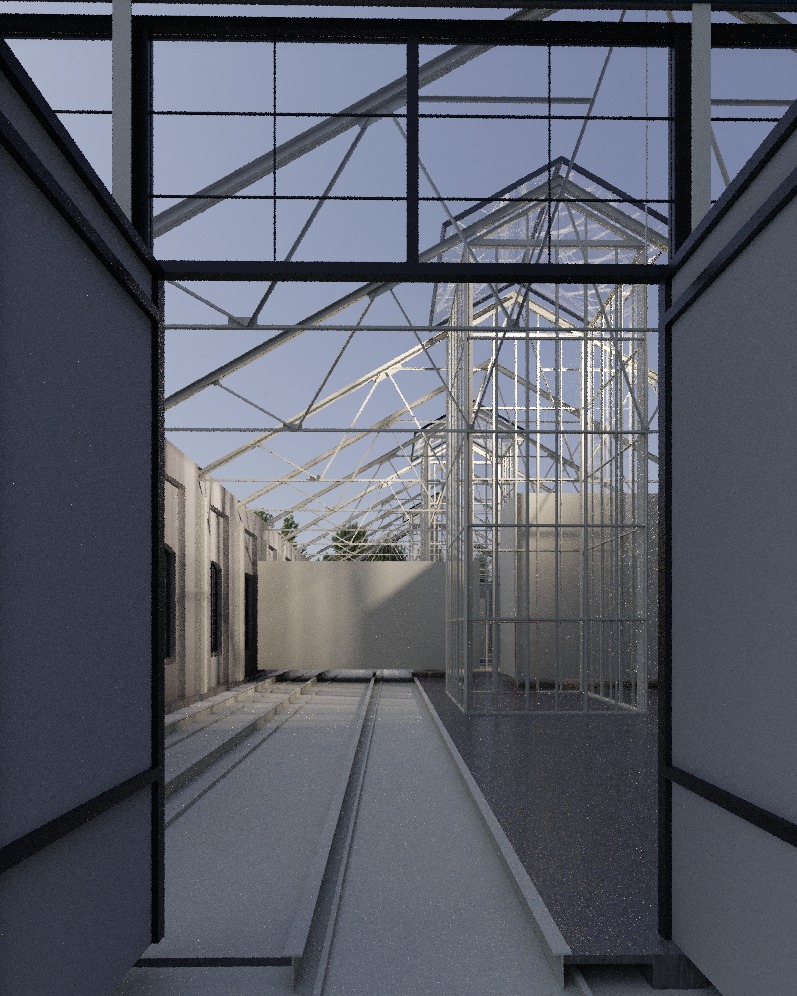
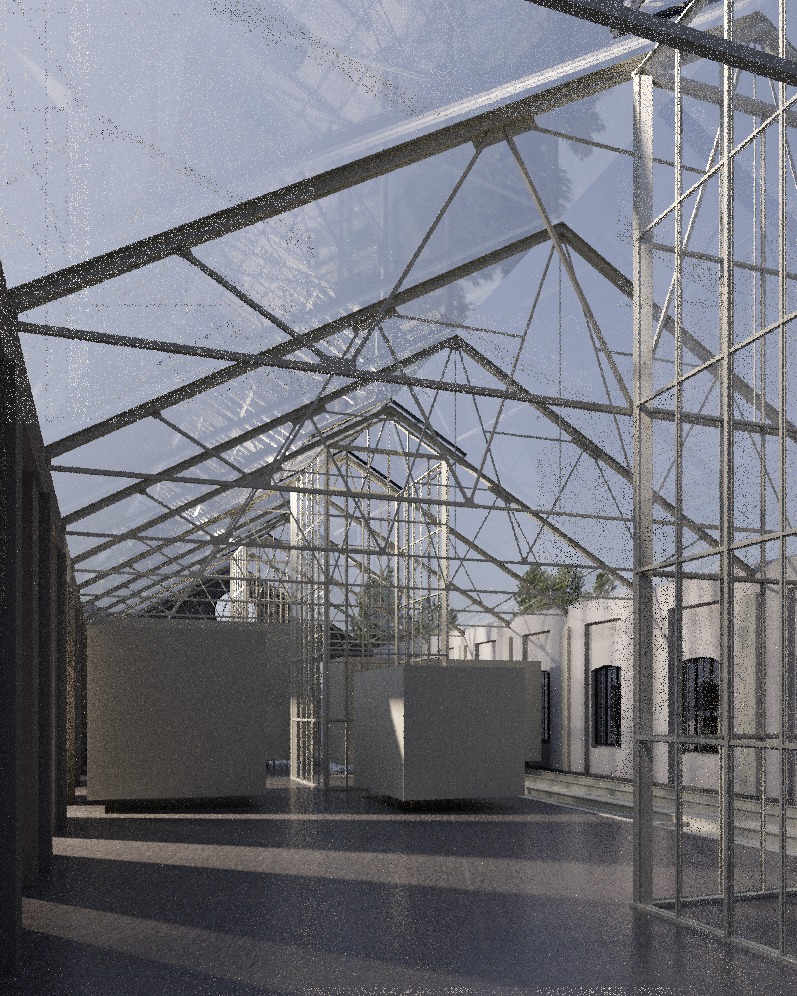
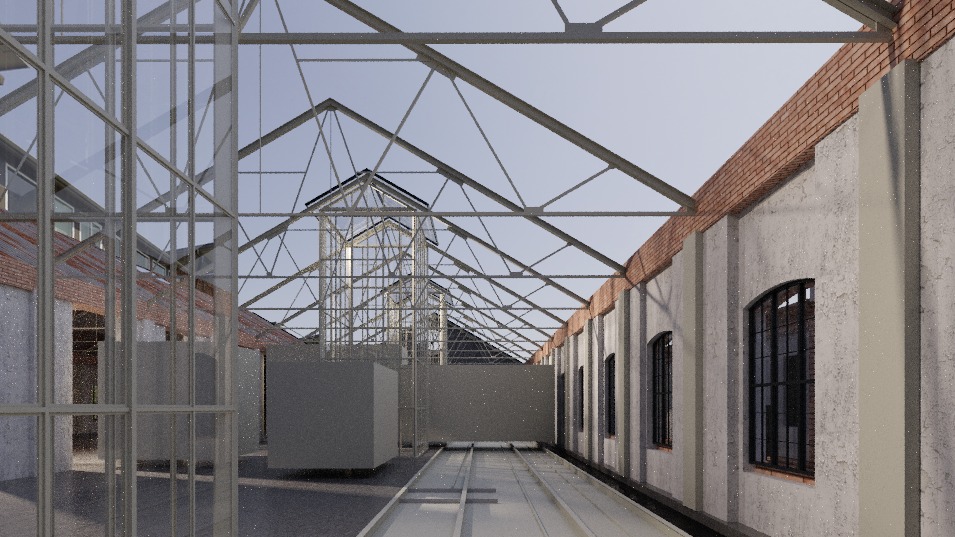
2. Setting up the materials, lights, and shadows.
The same process went on at this stage, as we sent a couple of images for each scene, showing different types of lights and the shadows they leave. It would have gone in the same way with the material set up, but here the client knew exactly what they wanted, they showed us a sample for each material and we just went on creating something as close as it was humanly possible.
To keep the process clean and efficient, we required approval before moving forward on each of these steps: camera setup, materials, and then lights.
3. The visualization post-process phase.
This is an essential step. We like to do as much as we can in 3dsMax so we don’t have to edit a lot in Photoshop, but you still can’t skip this stage. Adding detail to the visualization, changing color tones, and pumping up the atmosphere and contrast is a must when you want to get the most out of an architectural image of your proposal. See below how the exterior render looked like before, and after the post-processing phase.

